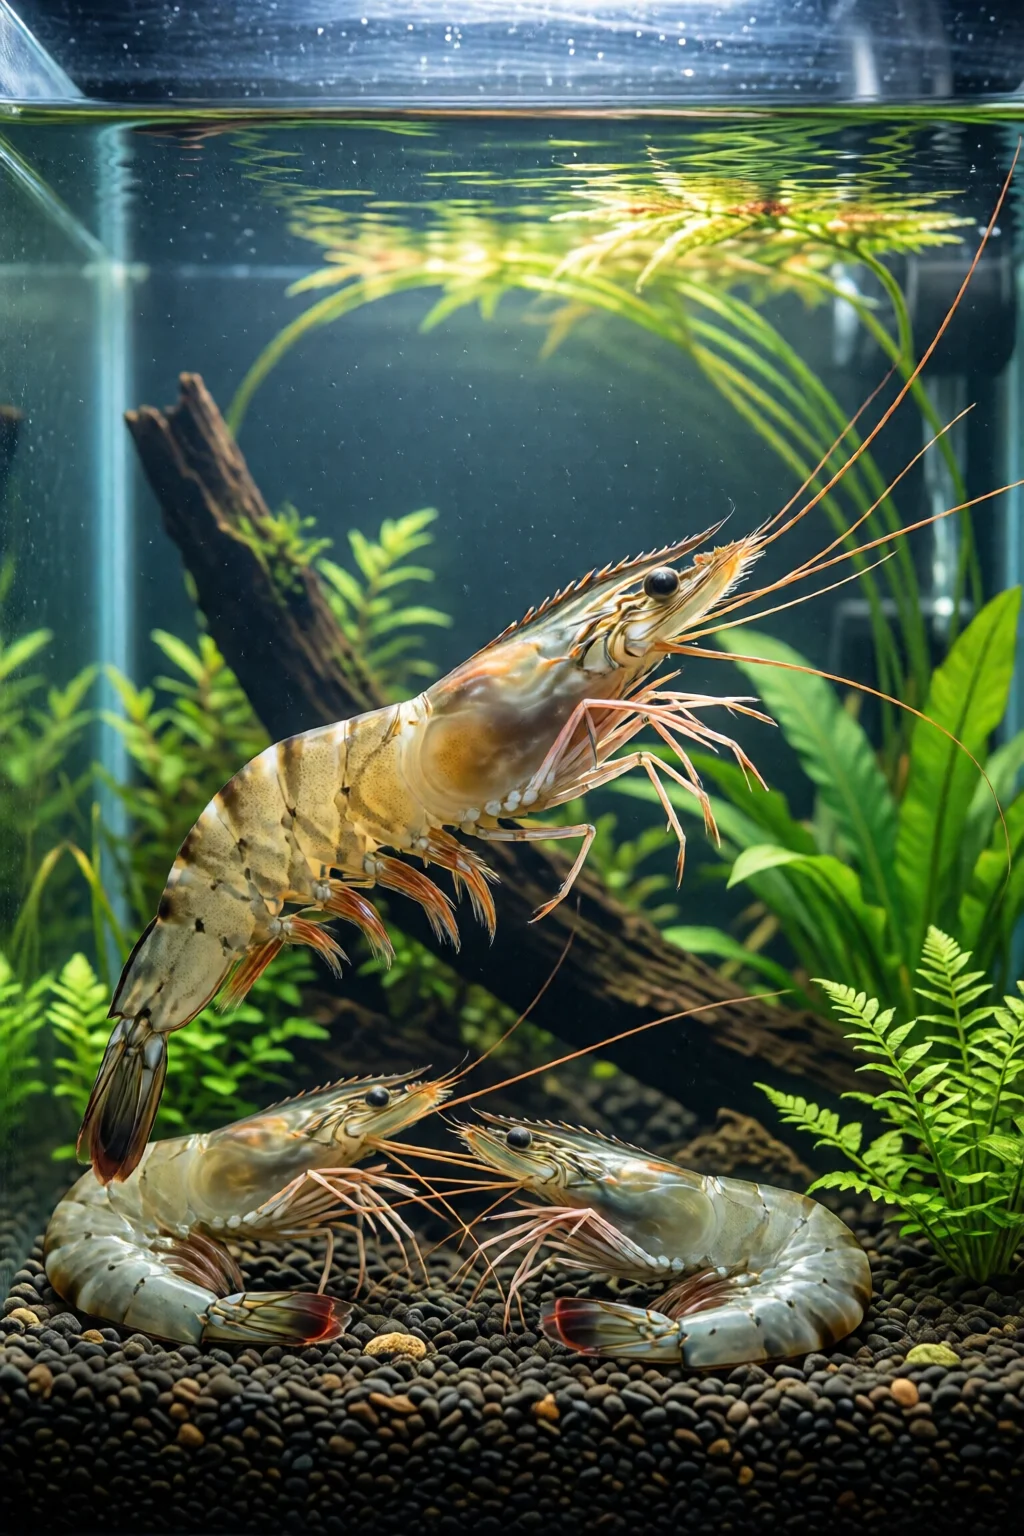
Did you know that over 30% of hobbyists who buy their first aquarium choose shrimp instead of fish? The gentle, low‑maintenance nature of freshwater shrimp makes them the perfect gateway species, and a well‑planned shrimp tank setup for beginners can turn a simple glass box into a thriving micro‑ecosystem.
In This Article
- What You Will Need (Before You Start)
- Step 1: Choose the Right Tank Size and Location
- Step 2: Set Up the Substrate and Hardscape
- Step 3: Fill with Conditioned Water and Test Parameters
- Step 4: Cycle the Aquarium
- Step 5: Add Live Plants and Decorations
- Step 6: Introduce Your Shrimp
- Step 7: Ongoing Maintenance
- Common Mistakes to Avoid
- Troubleshooting and Tips for Best Results
- Summary
What You Will Need (Before You Start)
- Tank: A 5‑10 gallon (19‑38 L) glass or acrylic aquarium. The Fluval Edge 5.5‑gallon tank retails for about $79.99 and includes a built‑in filtration system, which is ideal for beginners.
- Filter: A gentle sponge filter such as the Aquatic Life CFS 110 (≈ $25) or the Tetra Whisper 110 (≈ $34). Shrimp prefer low‑flow to avoid being swept into the current.
- Heater (optional): If you plan on keeping tropical shrimp like Neocaridina davidi (Cherry Shrimp), a 50‑W heater for a 5‑gallon tank (e.g., Eheim Jager 50 W, $29) maintains a stable 22‑26 °C.
- Substrate: ADA Amazonia substrate at $23 per pound (≈ 2 lb for a 5‑gallon tank) provides essential trace minerals and a soft surface for bio‑film.
- Hardscape: Driftwood (e.g., Indian almond, $12) and small rocks (Seachem Flourite, $15 per 2‑lb bag) create hiding spots and release beneficial tannins.
- Plants: Easy‑leafing species like Java Moss ($3), Cryptocoryne wendtii ($6), and Duckweed ($2) offer grazing surfaces and natural filtration.
- Water Conditioner: Seachem Prime (½ L, $16.99) removes chlorine, chloramine, and detoxifies heavy metals.
- Test Kit: API Freshwater Master Test Kit (≈ $30) checks pH, ammonia, nitrite, nitrate, and GH/KH.
- Food: Sera Shrimp Blend (¼ lb, $4) or homemade algae wafers.
- Cleaning Tools: A soft algae pad, turkey baster, and a fine‑mesh net.
Step 1: Choose the Right Tank Size and Location
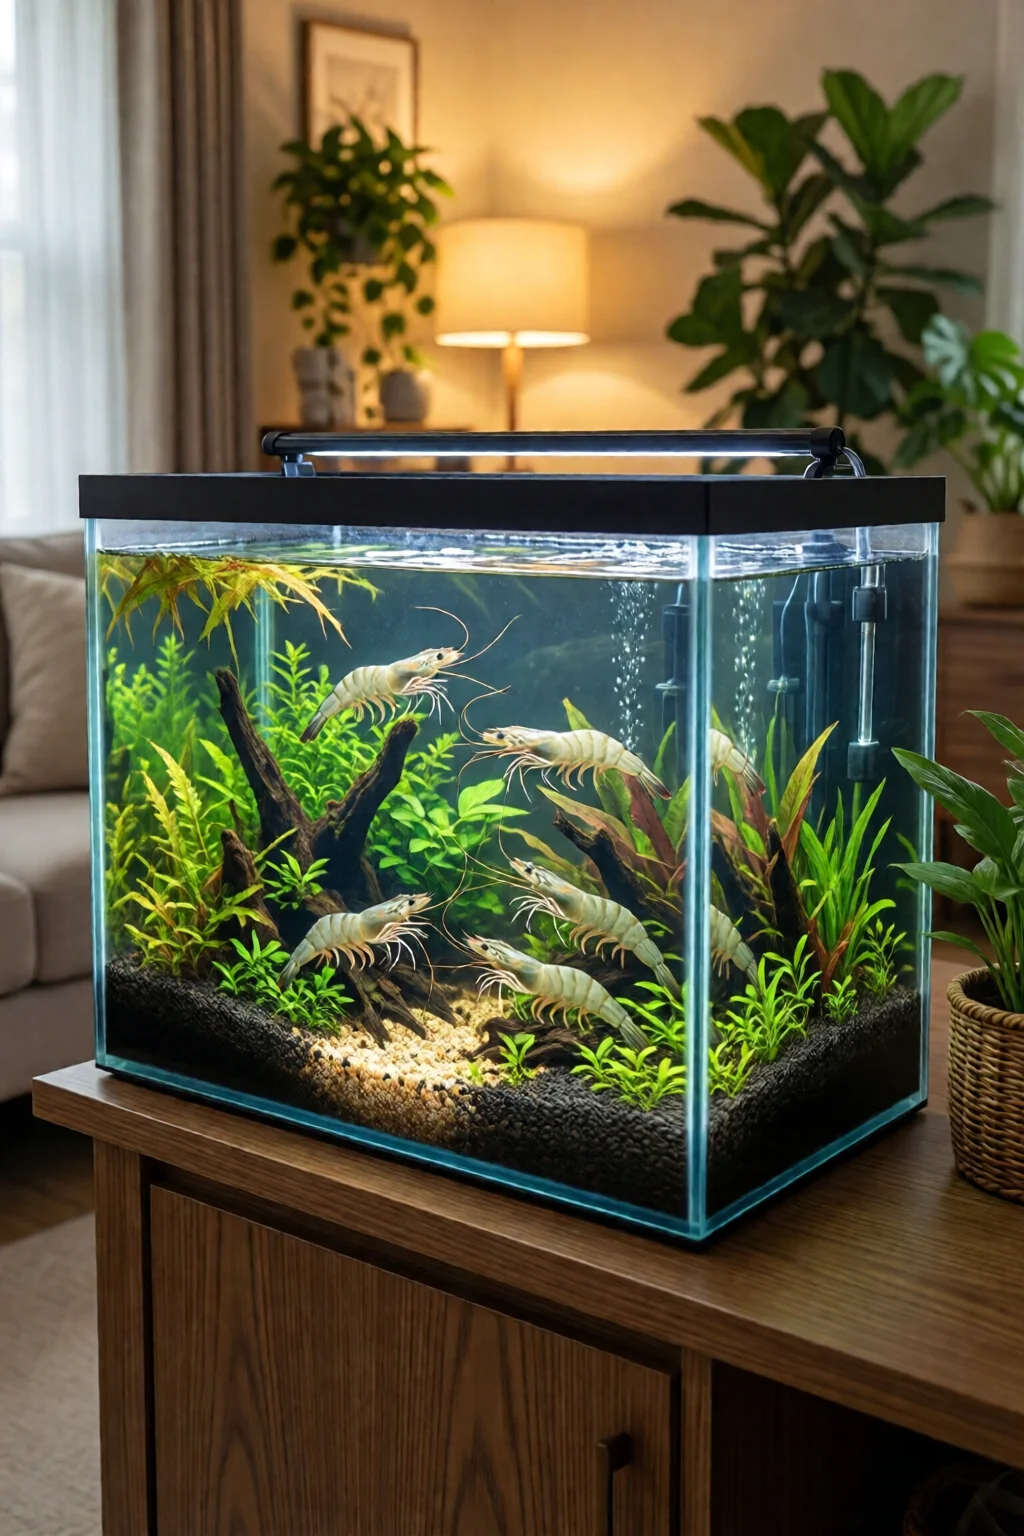
While a 5‑gallon tank is the most common starter size, opting for a 10‑gallon (38‑L) unit gives you more stability and room for a modest colony (10‑15 shrimp). Place the tank away from direct sunlight to prevent unwanted algae blooms and temperature spikes. A sturdy stand or cabinet that can support the tank’s weight (≈ 40 lb when filled) is essential.
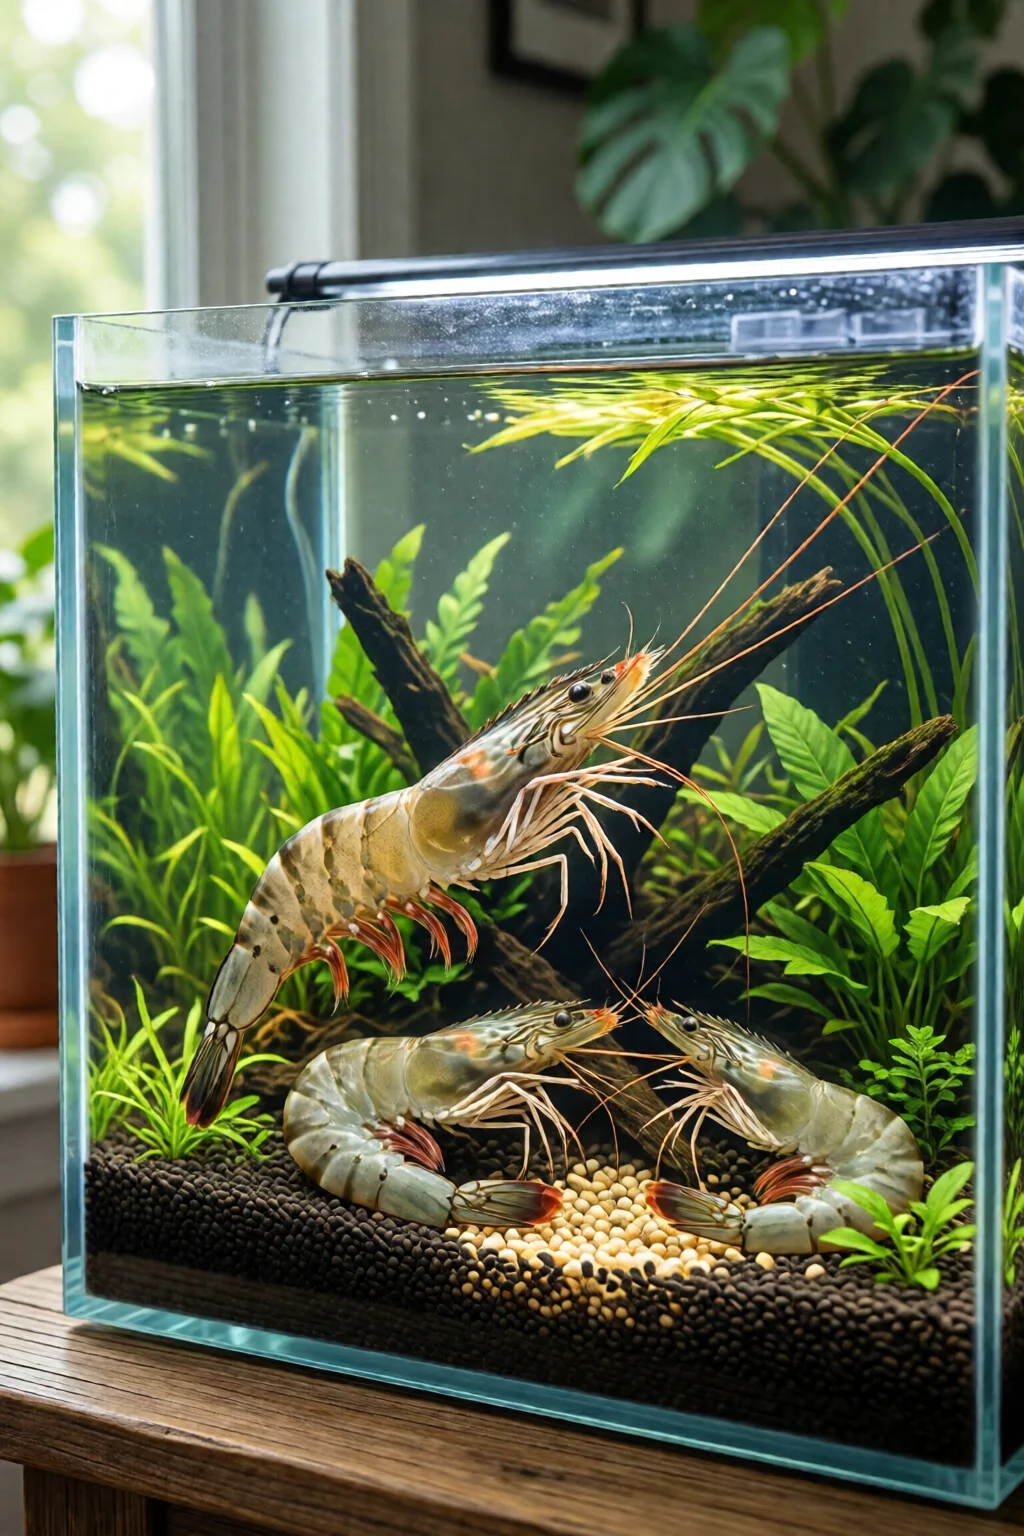
Step 2: Set Up the Substrate and Hardscape
Rinse the substrate with dechlorinated water until it runs clear—this removes dust without stripping minerals. Spread a 1‑inch (2.5 cm) layer across the bottom, then arrange driftwood and rocks. The wood not only looks natural but also leaches tannins that lower pH by 0.2‑0.4 units, mimicking the soft, acidic waters many shrimp prefer.
Step 3: Fill with Conditioned Water and Test Parameters
Use a clean bucket and fill the tank with tap water treated with Seachem Prime (½ mL per gallon). Let the water sit for 15 minutes to reach room temperature, then test:
- pH: Aim for 6.5‑7.2 for most Neocaridina and 6.2‑6.8 for Caridina species.
- GH (General Hardness): 4‑8 dGH (≈ 70‑140 ppm) provides enough calcium and magnesium for exoskeleton growth.
- KH (Carbonate Hardness): 0‑4 dKH (≈ 0‑70 ppm) helps maintain stable pH.
- Ammonia/Nitrite: Both must be 0 ppm before adding shrimp.
Step 4: Cycle the Aquarium
Even though shrimp are tolerant of low nitrate, a fully cycled tank prevents toxic spikes. Follow the how to cycle a new aquarium guide: add a small amount of fish food or a few hardy snails, test daily, and wait 4‑6 weeks until ammonia and nitrite read 0 ppm and nitrate stabilizes below 20 ppm. During this period, keep the filter running 24 hours and perform 10‑15% water changes every other day to dilute any spikes.
Step 5: Add Live Plants and Decorations
Planting not only enhances aesthetics but also offers bio‑filtration and grazing surfaces. Start with a layer of root tabs (e.g., ADA Root Tabs, $4 per pack) beneath the substrate for slow nutrient release. Plant Java Moss on driftwood, anchor Cryptocoryne in the substrate, and sprinkle floating duckweed on the surface. For detailed plant care, see our best aquarium plants for beginners article.
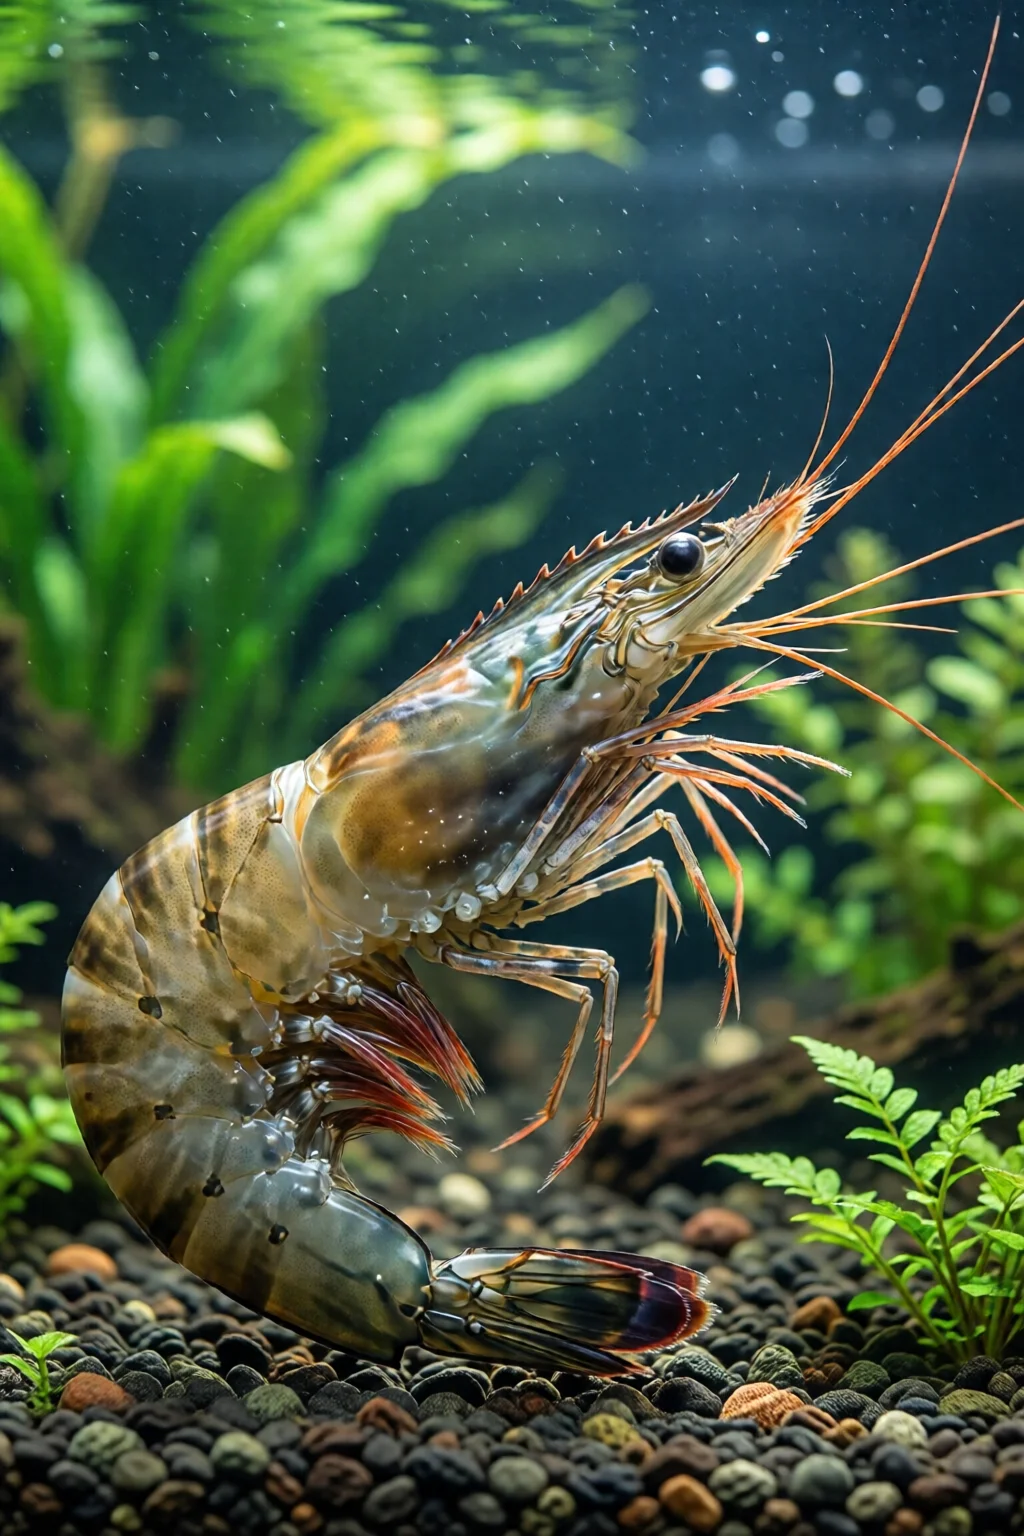
Step 6: Introduce Your Shrimp
Acclimate shrimp using the drip method: float the sealed bag in the tank for 15 minutes, then attach a clean airline tubing and let 2 drops per minute drip into the bag for 1 hour. This gradual change prevents osmotic shock. Release the shrimp gently onto a leaf litter or plant leaf; they will immediately start exploring.
Step 7: Ongoing Maintenance
- Weekly: Perform a 20% water change with conditioned water, prune overgrown plants, and siphon out detritus using a turkey baster.
- Bi‑weekly: Test water parameters; adjust pH with driftwood or peat if needed.
- Monthly: Replace 10% of the substrate if it becomes compacted, and clean the filter media in tank water (never tap water).
- Feeding: Offer a pinch of shrimp food once daily; overfeeding leads to ammonia spikes.
Common Mistakes to Avoid
Even seasoned hobbyists slip up. Here are the pitfalls I see most often:
- Skipping the cycle: Adding shrimp to an uncycled tank often results in sudden die‑offs due to ammonia toxicity.
- Using high‑flow filters: Shrimp can be swept into the filter media; a sponge filter or low‑flow setting is safer.
- Hard water: Tap water with >10 dGH will inhibit molting; use reverse osmosis (RO) water mixed 50/50 with tap if hardness is high.
- Neglecting leaf litter: Without a source of bio‑film, shrimp may starve; Indian almond leaves or dried oak leaves are cheap (≈ $3) and effective.
- Over‑crowding: A 5‑gallon tank should host no more than 10 adult shrimp; exceeding this leads to aggressive competition for food and space.
Troubleshooting and Tips for Best Results
White‑water cloudiness? This is usually a bacterial bloom during cycling. Perform a 20% water change and let the bacteria settle; the cloud will clear in 2‑3 days.
Molting problems? If shrimp appear stuck in a half‑molted state, check GH (must be ≥4 dGH) and ensure they have enough calcium—add a pinch of crushed coral or a commercial shrimp mineral supplement ($12 per 100 g).
Algae overgrowth? Reduce light to 6‑8 hours per day, increase plant density, and consider adding a few clean‑up crew snails (e.g., Nerite snails, $5 each) to graze excess algae.
Unexpected deaths? Review the API test results for ammonia or nitrite spikes. If present, perform an emergency 30% water change, add Seachem Prime, and consider a quick dip in a separate container with fresh, dechlorinated water for the remaining shrimp.
For those interested in mixing shrimp with small fish, read our discus fish care guide advanced—though keep in mind most discus will eat baby shrimp.
Summary
Setting up a shrimp tank for beginners isn’t about buying the most expensive equipment; it’s about creating a stable, low‑stress environment that mimics the shrimp’s natural habitat. Choose an appropriately sized tank, condition the water, cycle thoroughly, plant wisely, and maintain gentle filtration. Avoid common missteps like high flow, hard water, and over‑crowding, and you’ll enjoy a vibrant colony that can live for 2‑3 years with minimal effort.
How many shrimp can I keep in a 5‑gallon tank?
A 5‑gallon tank comfortably supports 8‑10 adult Neocaridina shrimp or 5‑6 Caridina species. Adding more will increase waste and competition for food.
Do I need a heater for shrimp?
Tropical shrimp (e.g., Cherry, Crystal Red) thrive at 22‑26 °C, so a small heater is advisable in cooler climates. Temperate species like Ghost Shrimp can live without heating if the room stays above 18 °C.
Can I use tap water directly?
Never use untreated tap water. Always treat it with a water conditioner like Seachem Prime to neutralize chlorine, chloramine, and heavy metals.
What plants are best for shrimp?
Java Moss, Anubias nana, and Cryptocoryne wendtii are excellent because they provide surface area for bio‑film and are forgiving of low light.
How often should I change the water?
A 20‑25% water change weekly keeps nitrate low and replenishes trace minerals. During cycling, increase to 30% every 2‑3 days.